Page Headers, also known as Banner Images, are placed at the top of pages, and contain an image with a text overlay.
The NKU Text and Image component is used to create page headers. Drag the component to the "Place banner items here" drop zone at the top of the page, then click Edit on its toolbar to show the editor window.
Images used for Page Headers should be large; at least 1000px wide. 1250px wide is preferred.
Before a document or image can be used on a page, it first must be uploaded to the Assets folder. It is a repository for all images and documents that are used on the site. Each department/office will have their own folder in which to store their assets.

The Assets folder is accessed from the main page of AEM (seen immediately after logging in). Click the Digital Assets icon, then navigate to your department/office folder.
You will see a "docs" and "images" folder by default. Click the folder where you want to upload your assets.

To upload an asset (a document or image), click New in the upper left corner of the panel. This will show the New Asset window, where you can browse your computer. Select the asset(s) you want to add, then click Open. This will show the files to be uploaded. They can be renamed is desired. To add the assets, click Upload.

The Assets will be added to end of the existing list. The window shows 15 assets per page, so you may have to navigate to the last page to see your recent uploads.
At this point, the assets have been added to the backend of the system, but they haven't been uploaded to the server. This must be done so they can be used on pages. To do this, select the asset(s), then click Activate at the top of the page. Their icons will turn green, indicating they have been uploaded to the server.
Once the assets have been uploaded, you can then use them on a page.
Note: Individual assets can not exceed a size of 16 MB. Files larger than this will be rejected by the system.
To create a banner image with a text overlay, perform the following steps in the NKU Text and Image component:
Drag the image for the banner from the Content Finder to the Image tab.
Please view the Image page for instructions.
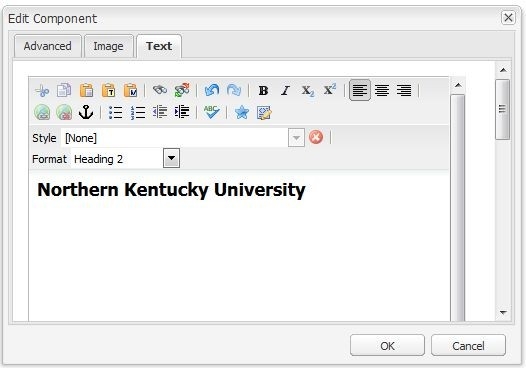
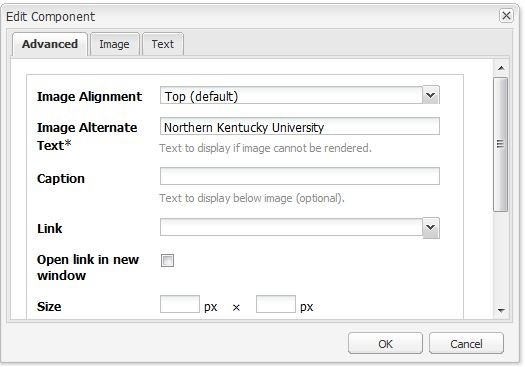
Since the banner is an image, you must include Alt Text in the Advanced tab. Because the banner image is cosmetic, and doesn't provide any essential content to the page, the title used in the Text tab can be used here, rather than a description of the image.
Once the Alt Text is in place, scroll down to "Custom Class or ID", and click the arrow icon to expand it. In the Class dropdown, select "nku-interior header nku-headline", and click OK. This action will overlay the text in the Text tab on the image, using Veneer font on a transparent background, as shown at the top of this page.