
The NKU Text and Image component allows for wrapping or aligning text around an image.
This is one of several ways to display an image. Other options can be found here:
Before a document or image can be used on a page, it first must be uploaded to the Assets folder. It is a repository for all images and documents that are used on the site. Each department/office will have their own folder in which to store their assets.

The Assets folder is accessed from the main page of AEM (seen immediately after logging in). Click the Digital Assets icon, then navigate to your department/office folder.
You will see a "docs" and "images" folder by default. Click the folder where you want to upload your assets.
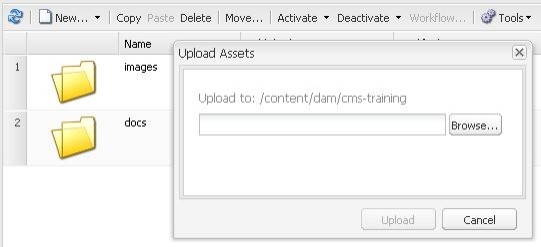
To upload an asset (a document or image), click New in the upper left corner of the panel. This will show the New Asset window, where you can browse your computer. Select the asset(s) you want to add, then click Open. This will show the files to be uploaded. They can be renamed is desired. To add the assets, click Upload.
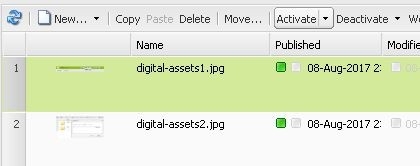
The Assets will be added to end of the existing list. The window shows 15 assets per page, so you may have to navigate to the last page to see your recent uploads.
At this point, the assets have been added to the backend of the system, but they haven't been uploaded to the server. This must be done so they can be used on pages. To do this, select the asset(s), then click Activate at the top of the page. Their icons will turn green, indicating they have been uploaded to the server.
Once the assets have been uploaded, you can then use them on a page.
Note: Individual assets can not exceed a size of 16 MB. Files larger than this will be rejected by the system.

The NKU Text Image component is very similar to the NKU Image component. Drag it to a drop zone, then click Edit on its toolbar to show the component window.
There are three tabs: Advanced, Image, and Text.

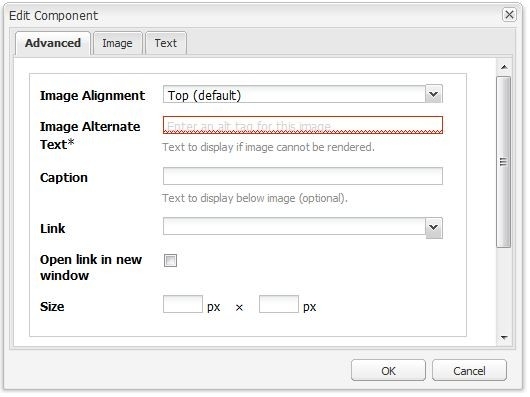
The Advanced tab contains information about the image.

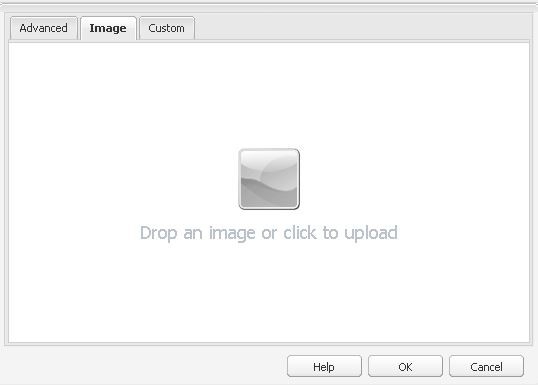
The image must be dragged into this panel from the Content Finder on the left side of the screen.

The Content Finder allows your to view your Assets folder. Click the right arrow until you see the Browse tab, then click it.
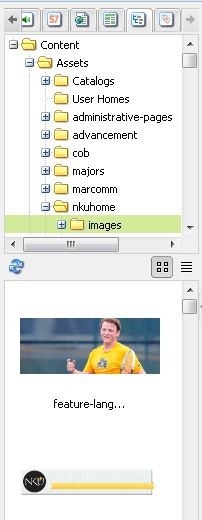
After clicking on the Browse tab, expand the Assets folder, which is at the top of the list. Navigate to your department/office folder, and click on the folder that holds the image. The contents of the folder will show as thumbnails in the panel below. Drag the image you wan to use into the Image tab of the component.
You may also wish to crop the image using the Crop tool at the bottom of the window.
The Text Tab functions the same way as the NKU Text Editor. Please view the Text Editor page for instructions.
When using the Text/Image component, the background, Veneer header, and button classes are not available.